

Free action pack · AI video editing

Don’t read about it. Run it.

Build your own AI video editor in Claude Code. Every step is a prompt you copy and paste, and it builds your setup for you, with my editing standards already in place.

  1. 1Copy the prompt
  2. 2Paste it into Claude Code, in an empty folder
  3. 3It builds your editor room
The one-prompt setupDoes everything below
Set up my AI editor room in this folder. Download https://getnave.app/guides/ai-video-editing/files/SKILL.md and https://getnave.app/guides/ai-video-editing/files/transcribe.mjs into .claude/skills/editor-room-setup/, then follow SKILL.md step by step.
Claude Code · my-editor-room
  • You pasted the setup prompt
  • Got the setup from getnave.app
  • Built your room: footage, references, sounds, exports, packs
  • Checked FFmpeg, HyperFrames, AssemblyAI
  • ?“What kind of videos do you make?”
  • Wrote your CLAUDE.md with my standards
What happens after you paste it.
What this prompt does
  • It downloads two files from getnave.app: the setup steps (SKILL.md) and a small transcript helper (transcribe.mjs). You can read both first.
  • It saves them in your folder, at .claude/skills/editor-room-setup/. That’s where Claude Code keeps skills.
  • It builds your room, checks FFmpeg, Node.js, HyperFrames and your AssemblyAI key, and installs the free tools only when you say yes.
  • It asks about your editor, then five plain questions about your videos, and writes your CLAUDE.md: my standards, plus your answers in your words.
  • It never asks you to paste a key into the chat, and it changes nothing outside your folder except the tools you said yes to.

If it asks you to restart Claude Code after an install, do it and paste the prompt again. Your folders are already there, so it picks up where it stopped.

Free · Mac or Windows · Claude Code comes with a paid Claude plan

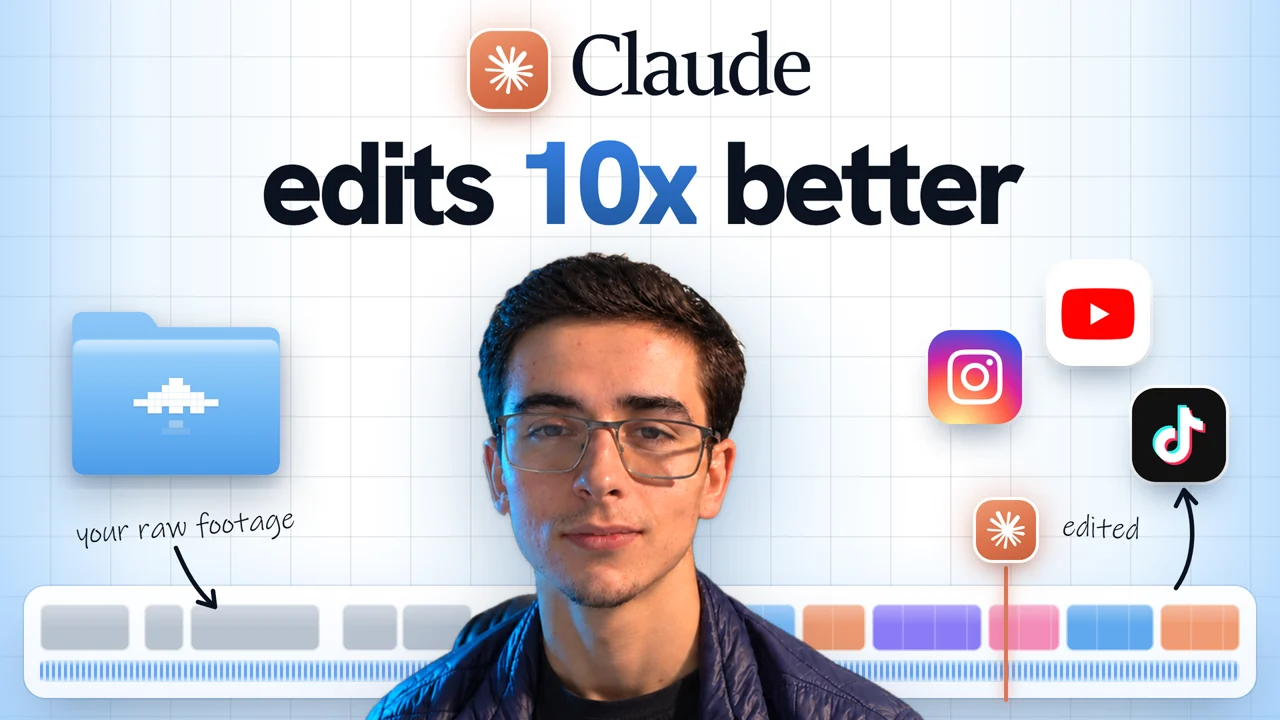
The video: Claude edits 10x better. Enrique with raw footage turning into an edited timeline. Watch the video

From the video

This pack follows the video, part by part.

Watch how it works, then run each part here.

  • ~400My AI editor has edited close to 400 of my videos, including this one.
  • $194.39What this video would have cost at API prices. I made it on my $100 Claude plan.

What you’ll have in 10 minutes

One folder. Your editor lives in it.

Everything your editor needs in one place, so it never has to guess. You open it, drop a video in, and edit.

my-editor-room

  • footageyour recordings
  • referencesthe look you want
  • soundsmusic and effects
  • exportspreviews and finals
  • packsone per kind of video
  • toolsthe transcript helper
CLAUDE.mdyour editor’s instructions
  • Ears listen before you cut
  • Eyes look before you show me
  • Brain my reasons
  • Taste my look and sound
  • Memory editing packs
  • My 10 editing standards, ready to make yours

Your tools, checked

  • FFmpegcuts and exports
  • HyperFramescaptions and motion
  • AssemblyAIevery word, timed
  • Your editorFilmCraft, DaVinci, Premiere or CapCut

Step by step

Every part of the video, as a prompt.

Want to go one step at a time, or redo one part? Each part has its own prompt. No choices to make: they’re already made.

  1. Room
  2. Tools
  3. Ears
  4. Eyes
  5. Brain
  6. Taste
  7. Memory

Part 1 · The room

One folder for everything.

Footage, references, sounds, exports and packs, each with a note on what goes in it, plus your CLAUDE.md with my standards. It never touches files you already have.

Your editor always knows where things are.

Build the room
Download https://getnave.app/guides/ai-video-editing/files/SKILL.md and https://getnave.app/guides/ai-video-editing/files/transcribe.mjs into .claude/skills/editor-room-setup/. Then do only Steps 1 and 2 of SKILL.md: build my editor room in this folder and show me the folders it made. Also write CLAUDE.md from the template in Step 8, with the standards as written and every answer marked "not decided yet".


Part 2 · The tools

Three tools do the work.

  • FFmpeg cuts and exports. Free.
  • HyperFrames turns code into captions and motion. Free.
  • AssemblyAI times every word. Pay as you go, free to start.

Plus your own editor to watch and fine-tune: FilmCraft is free, or connect DaVinci Resolve, Premiere Pro or CapCut.

Your Claude plan does the thinking. The rest is free or close to it.

Check and install the tools
Follow Steps 3 to 6 of .claude/skills/editor-room-setup/SKILL.md: check my editing tools, tell me what's ready and what's missing, install the free ones only after I say yes, and help me connect my editor. Never ask me to paste a key in the chat.
Your editor’s connector
  • DaVinci Resolve · davinci-resolve-mcp. Setup: npx davinci-resolve-mcp setup. Made for Resolve Studio.
  • Premiere Pro · premiere-pro-mcp. npm install -g premiere-pro-mcp, then premiere-pro-mcp --install-cep.
  • CapCut · capcut-ai-editor. Unofficial, needs Python. It changes your project directly, so duplicate it first.

They’re other people’s projects: read each page before you install.

Part 3 · Ears

It listens before it cuts.

A transcript with the time of every word, and the sound wave to check it. A word ends where its wave ends, not where the text says.

No more clipped words.

Listen to a videoChange <your video>
Transcribe footage/<your video> with tools/transcribe.mjs. Then draw its sound wave with FFmpeg, find every pause longer than a quarter of a second, and show me where you would cut, never through a word. Don't cut anything yet.

Part 4 · Eyes

It looks before it shows you.

It checks its own frames, then scores the edit out of 100 and lists what’s missing. That’s the 100% framework.

Proof: I scored the first intro of this video 60 out of 100 and said exactly why. That list became the rules for the next pass.

You see a better version first.

Score an edit
Look at your last render in exports/: take frames from the start, the middle, the end, and every caption and graphic. Score it out of 100 against my references and CLAUDE.md. Be really critical, and list everything keeping it from 100 before you change anything.

Part 5 · Brain

Your reasons, written down.

What you make, who it’s for, what they should feel. Every cut, caption and sound then gets a reason.

Edits that say what you mean.

Give it your reasons
Ask me the questions in Step 7 of .claude/skills/editor-room-setup/SKILL.md, one at a time. Write my answers into CLAUDE.md in my own words, as Step 8 says. Keep the standards unless my answer says something different, and tell me what you changed.

Part 6 · Taste

Your references and your sounds.

Drop videos you love in references and sounds you’re allowed to use in sounds. Good packs come from:

BOOM LibrarySoundlyLens Distortions

Not sponsored. Just what I use.

It edits like you, not like everyone.

Teach it your taste
Look at everything in references/ and sounds/. For each reference, take a few frames with FFmpeg and tell me in one line what you'd take from it. Then update the Taste section of CLAUDE.md with my look and which sound does which job. Ask me before you change any standard.

Part 7 · Memory

One pack per kind of video.

Pacing, captions, graphics, sound and your corrections, saved for each kind of video you make. Explain it once, then improve it every time.

Proof: my AI editor has edited close to 400 pieces of content I’ve posted, one pack per kind of video.

Your next video starts where the last one ended.

Start a packChange <kind of video>
Start an editing pack for <kind of video, like talking-head shorts> in packs/. Use CLAUDE.md and everything I've corrected so far: pacing, captions, graphics, sound. Read it before every edit of this kind, and add to it whenever I correct something that should always apply.

Your first edit

Four prompts, from raw video to your first pack.

Put a short recording in footage, then run them in order. You end with a finished edit and a pack for next time.

  1. 1The first cut
    Cut footage/<your video>. Follow CLAUDE.md: transcribe it, take out retakes and dead air, never cut through a word, and keep pauses only for a reason. Show me the list of cuts with their times before you render, then render it to exports/.
  2. 2A 20-second preview
    Edit the first 20 seconds of my cut in my style: captions, one graphic that lands on the word it shows, and sound with a job. Render it to exports/preview.mp4, check your own frames, and tell me what you checked.
  3. 3The 100% review
    You got a 60 out of 100. Get me to 100. Be really critical. List everything keeping it from 100, fix it, render it again, and give me the new score.
  4. 4Save it as a pack
    Save what worked in this video as a pack in packs/: pacing, captions, graphics, sound, and every correction I made. Next time I make this kind of video, start from it.

Built in

My editing standards, your starting point.

The rules I edit by, learned on my own videos. The setup writes them into your CLAUDE.md, and your answers make them yours. Change any of them. You start with an editor that already works to a high bar.

  1. 01Never cut through a word.A word ends where its sound wave ends. Read the wave, not only the text.
  2. 02Every gap is a decision.No dead air, no chopped breaths. Keep a pause only when it means something.
  3. 03Score it out of 100.Say what’s missing, fix it, score it again. Be really critical.
  4. 04Overlays land on the word.A graphic starts on the word it shows. One beat late reads as broken.
  5. 05Every sound has a job.Soft whooshes, a tick on highlights. No beeps, no music under talking.202 sound effects was noise. 4 was too quiet. A job for each one fixed it.
  6. 06Captions: one flat colour.Small and clean. No box, no shadow, no outline.
  7. 07Show the real thing.Real screens and real proof before any drawn graphic.
  8. 08Clear over clever.The story first, then the screens.
  9. 09Keep the creator’s words.Your phrases and your personality stay. Never flatten them.
  10. 10One pack per kind of video.Explain it once, then improve it every time.

If something gets in the way.

Where do I put my AssemblyAI key?

Not in the chat, and not in a file. Save it on your computer. Windows, in PowerShell: setx ASSEMBLYAI_API_KEY "your-key". Mac, in Terminal: echo 'export ASSEMBLYAI_API_KEY="your-key"' >> ~/.zshrc. Then close Claude Code and open it again in your folder.

It installed something and now can’t find it

Close Claude Code, open it again in the same folder and paste the prompt again. New tools show up after a restart, and it picks up where it stopped.

On a Mac it says brew isn’t found

Homebrew installs the free tools on a Mac. Install it from brew.sh, then paste the prompt again.

What does it cost?

Claude Code needs a paid Claude plan. FFmpeg, HyperFrames and FilmCraft are free. AssemblyAI is pay as you go with a free amount to start; check its prices.

Agentic Content LabA community on Skool

This pack gives you an editor.Get your AI content team in place.

Post more winning content every week, faster and easier, so the people who need you can find you.

Join the creators and founders already inside

Your AI content team in Nave · Setup & implementation training · 2 live Q&As a week · The community